


Snow Guide Takes A Look At The History Of The Ski Chalet Holiday
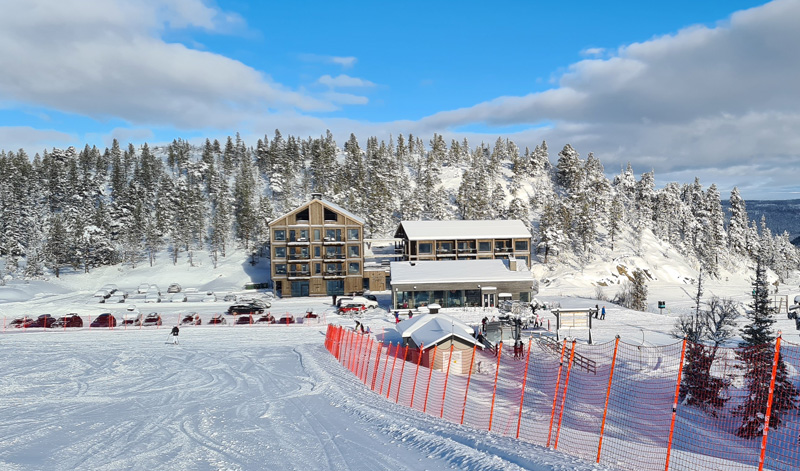
From humble Alpine hut, to homely mountain ski chalet, we talk to Ski Beat about the allure of the...

From humble Alpine hut, to homely mountain ski chalet, we talk to Ski Beat about the allure of the...
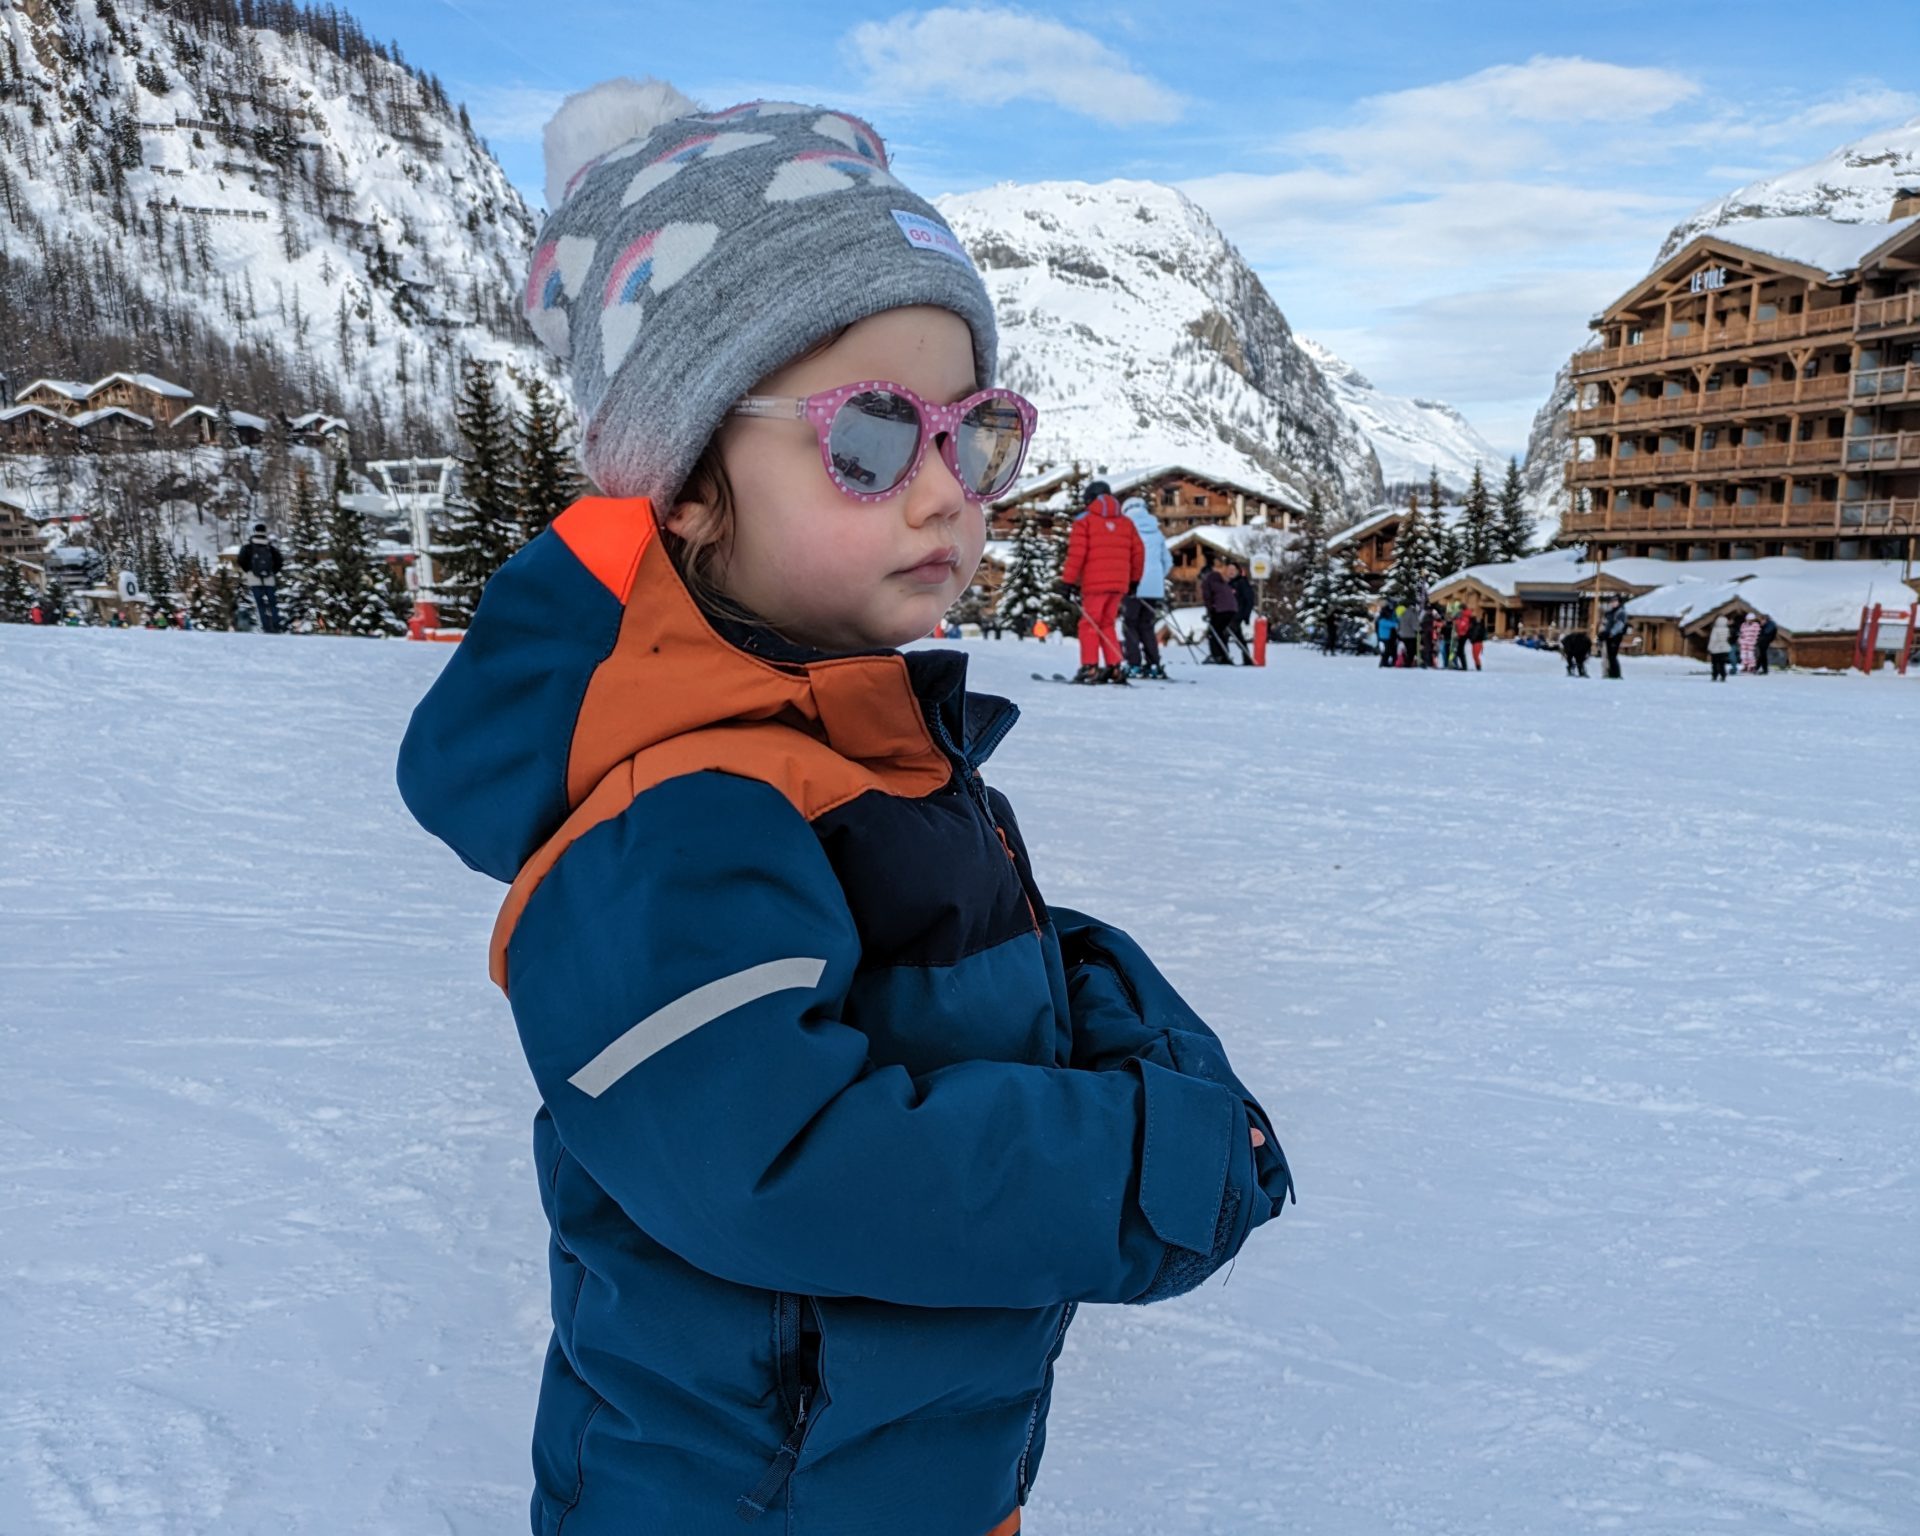
It was in the early days of our relationship that my now-wife and I went on our first trip...

Normally by early December Snow.Guide Ski Editor Rob would have ticked off at least one ski trip to the...
The Portes du Soleil is a vast ski area that spans over France and Switzerland. Mark Barber takes a...

A short guide to skiing on glaciers in Europe during the Summer and Winter months. Our Ski editor Rob...

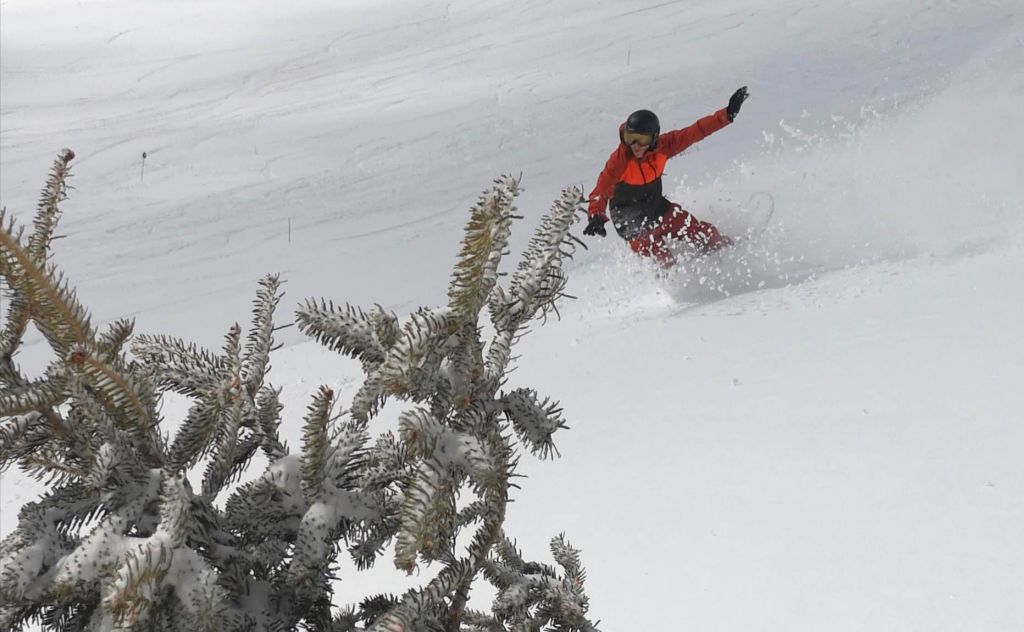
Snowboard editor Mark Barber spends a week in Paradiski with Ski Beat - this time to the French resort...

Snow.Guide ski editor Rob Stewart catches up with Cool Bus owner Rob Forbes to hear about the pledge and...

Is your child going on a school ski trip? A few practice sessions or lessons at an indoor snow...
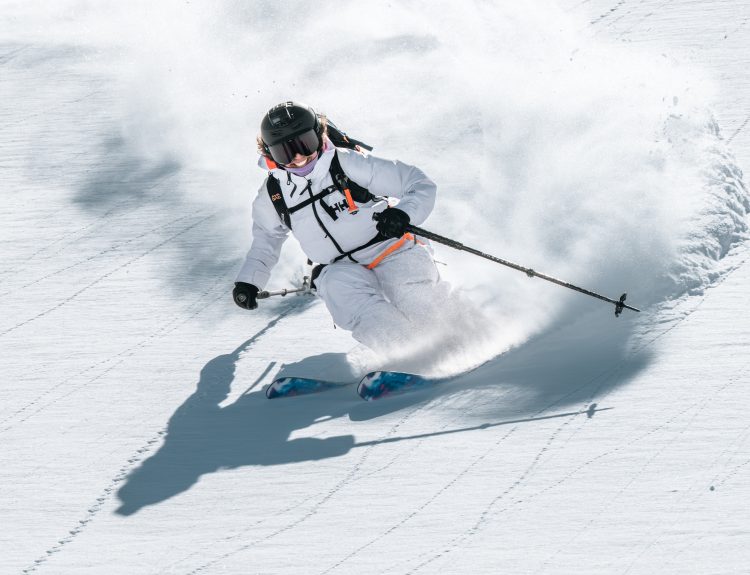
There’s nothing quite like that first breath of crisp mountain air before you glide down a blanket of fresh...
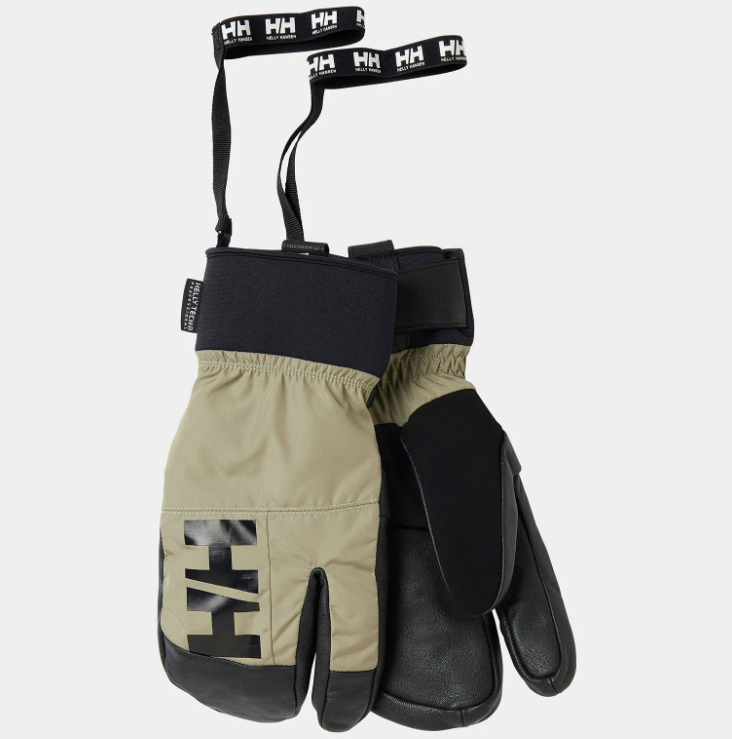
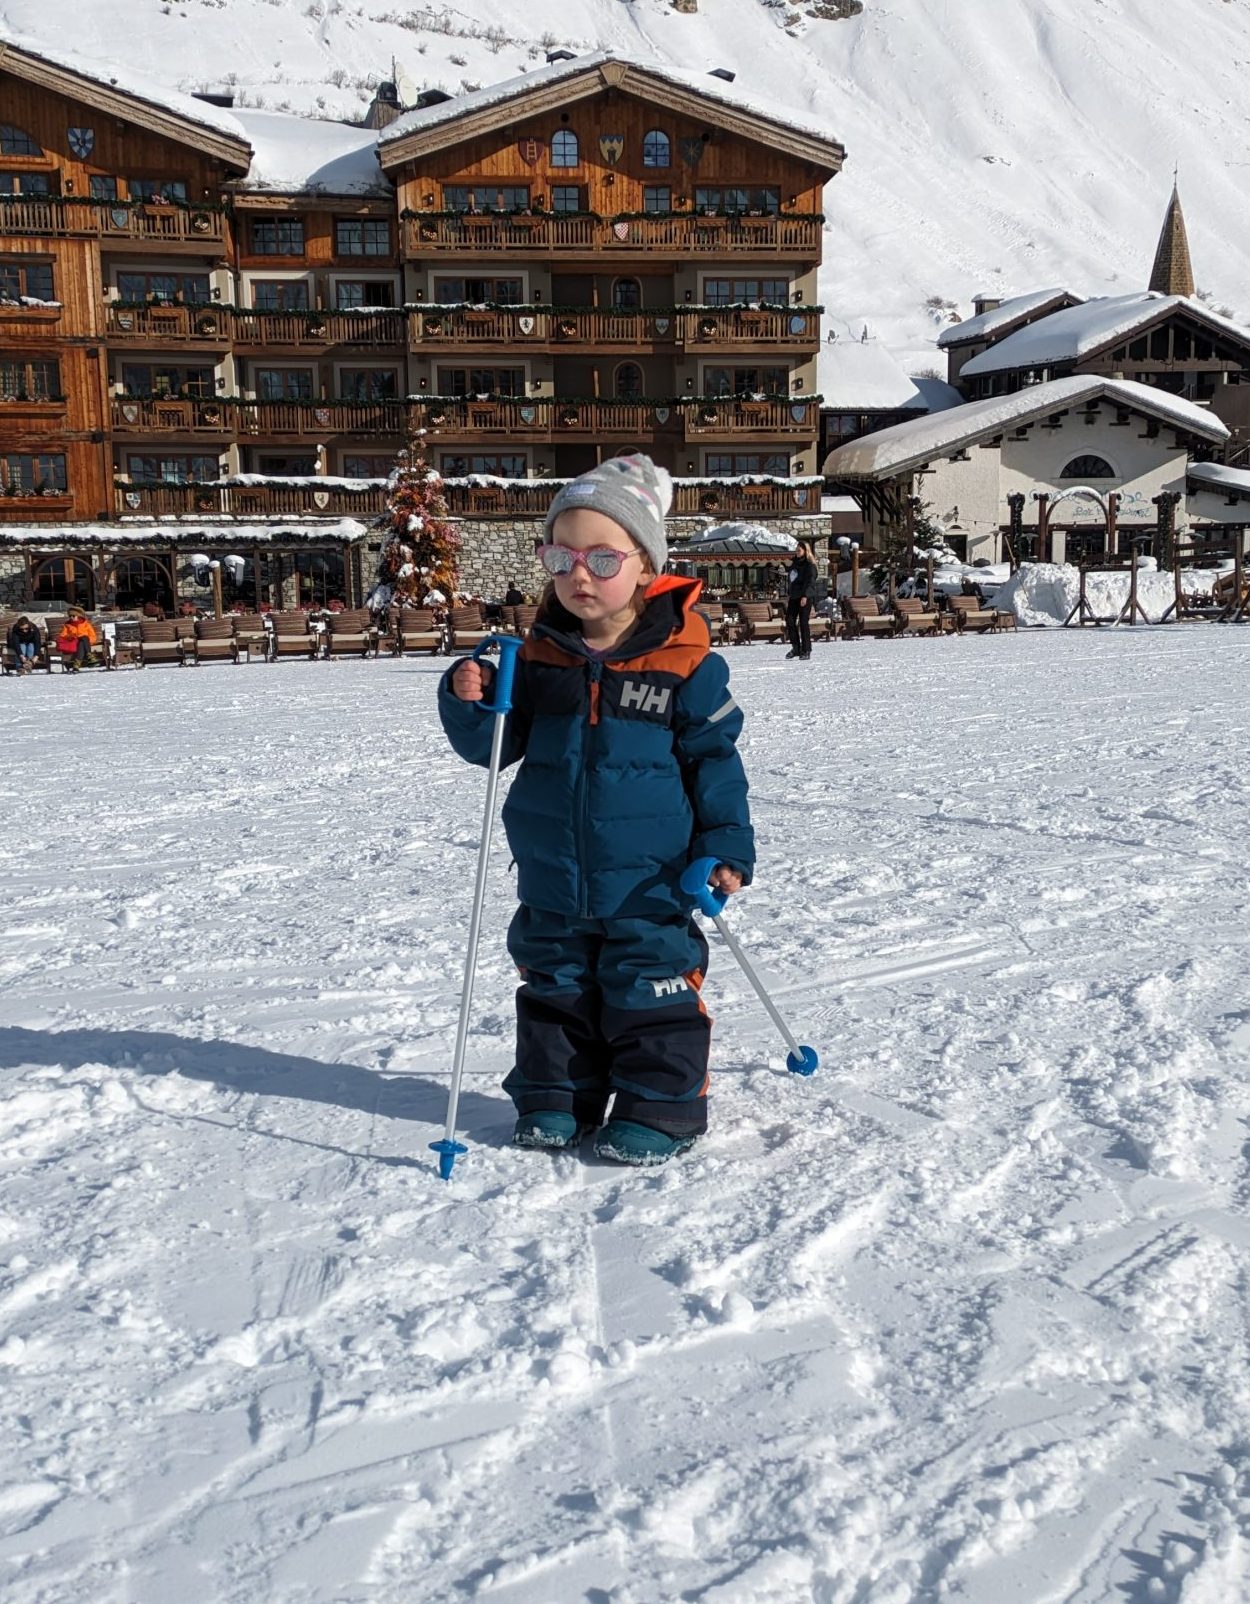
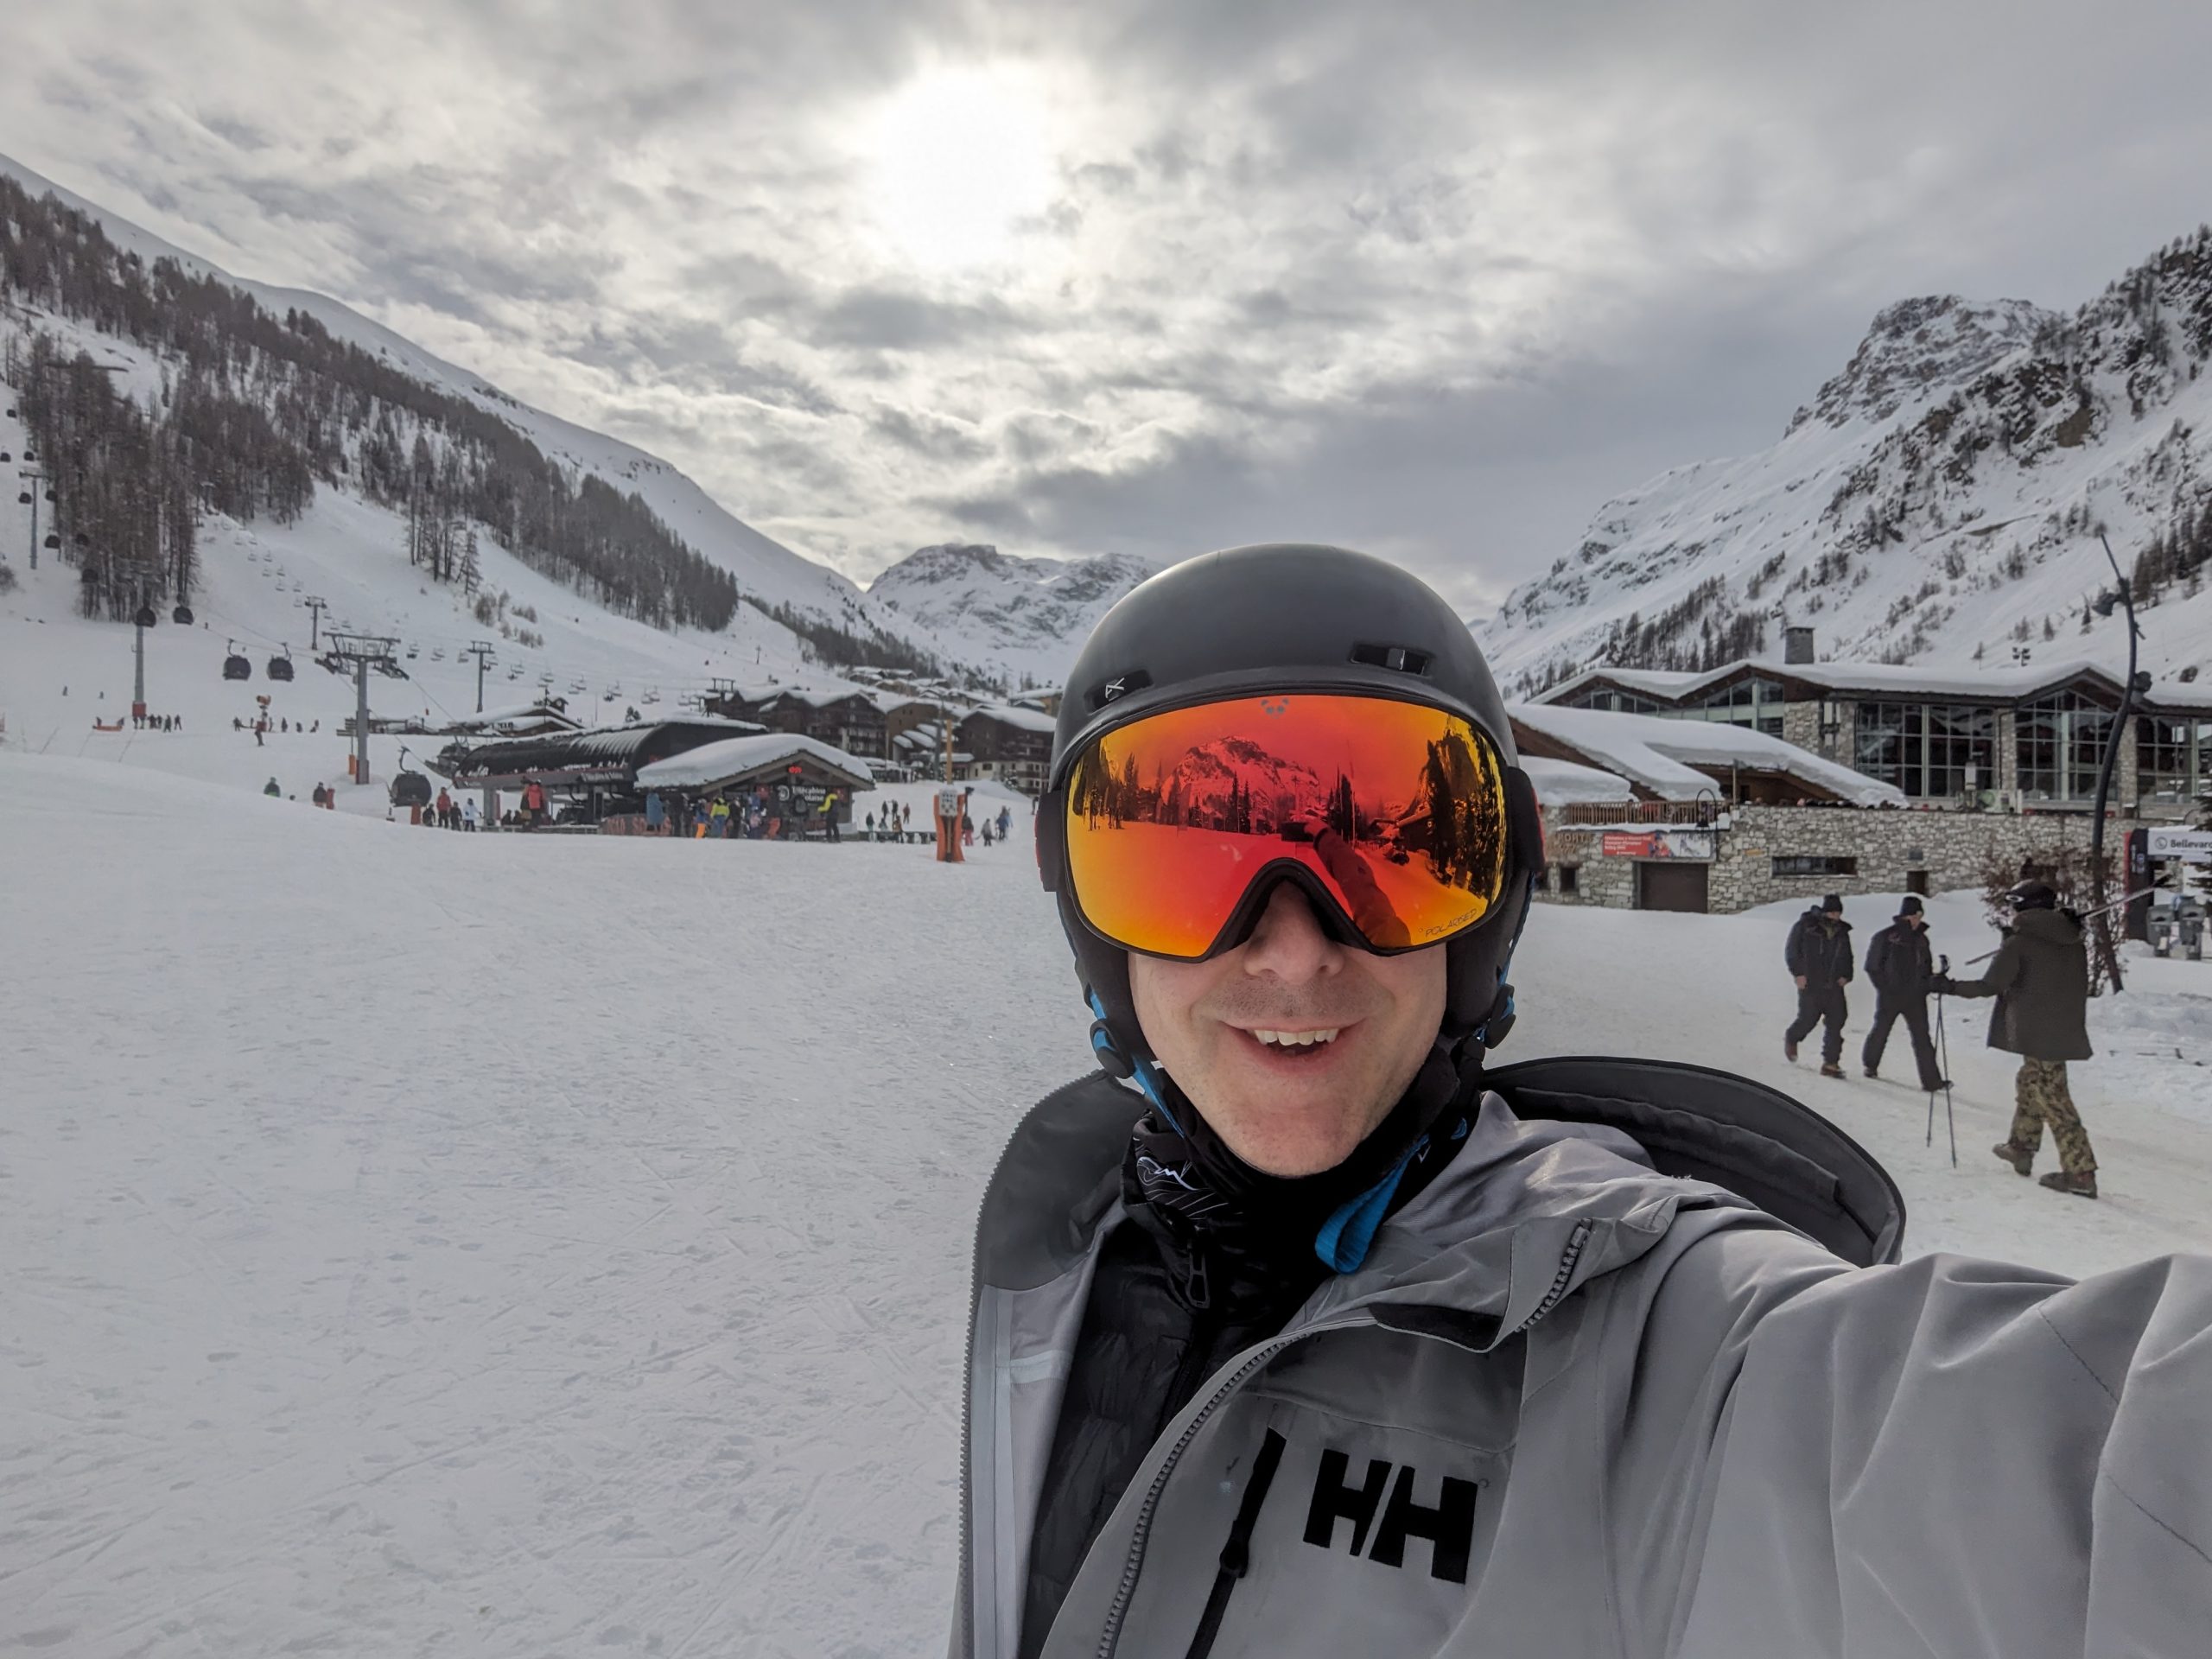
I tested the Helly Hansen ULLR D 3 Fingers Gloves over a week in mid-January in Val d’Isere, during...
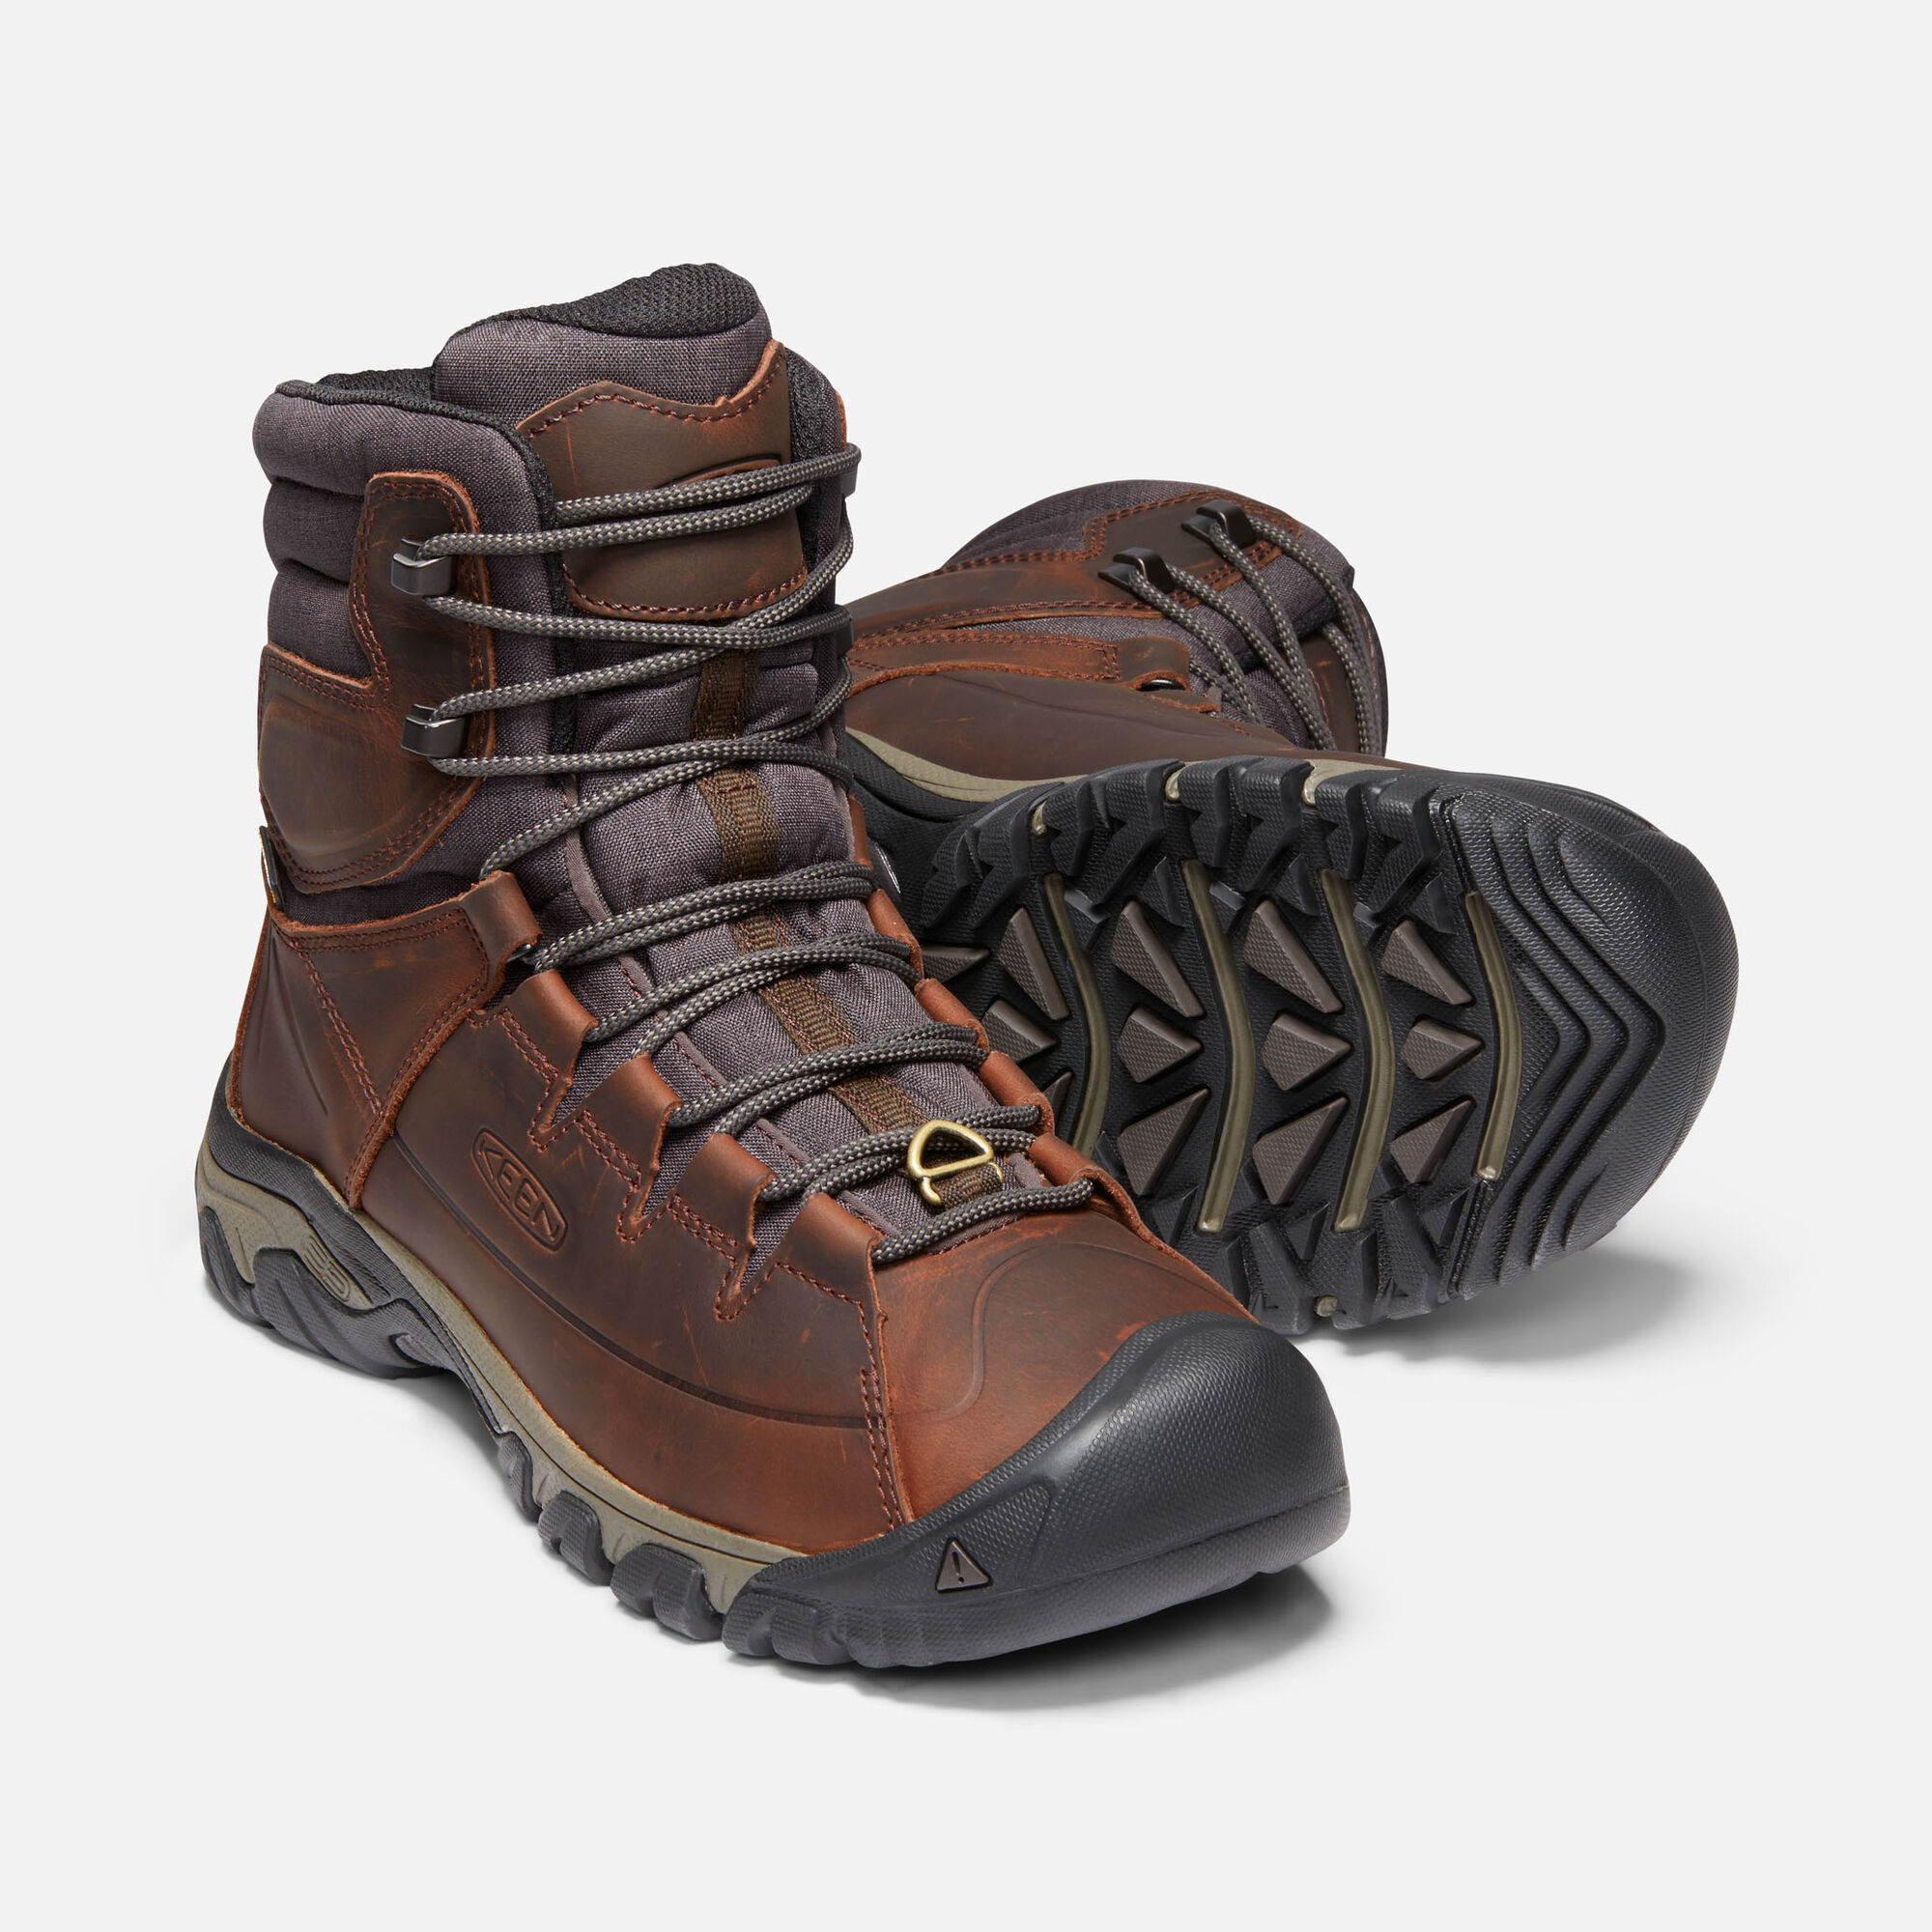
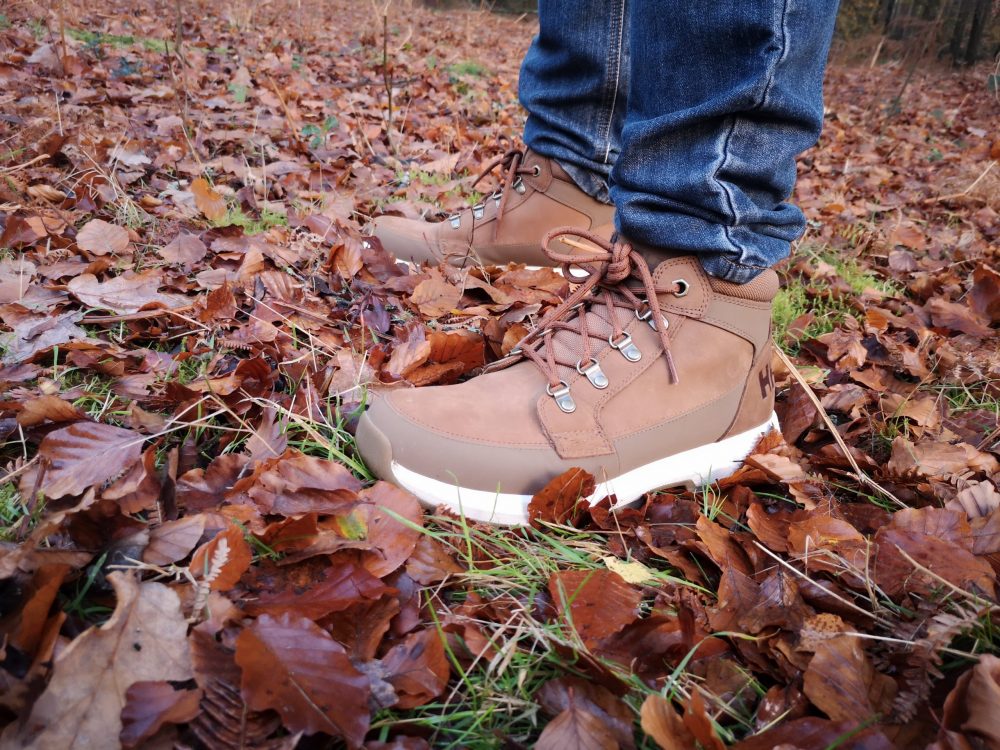
If you’re looking for a study, good looking, comfortable walking boot that works perfectly in snowy ski resorts, then...
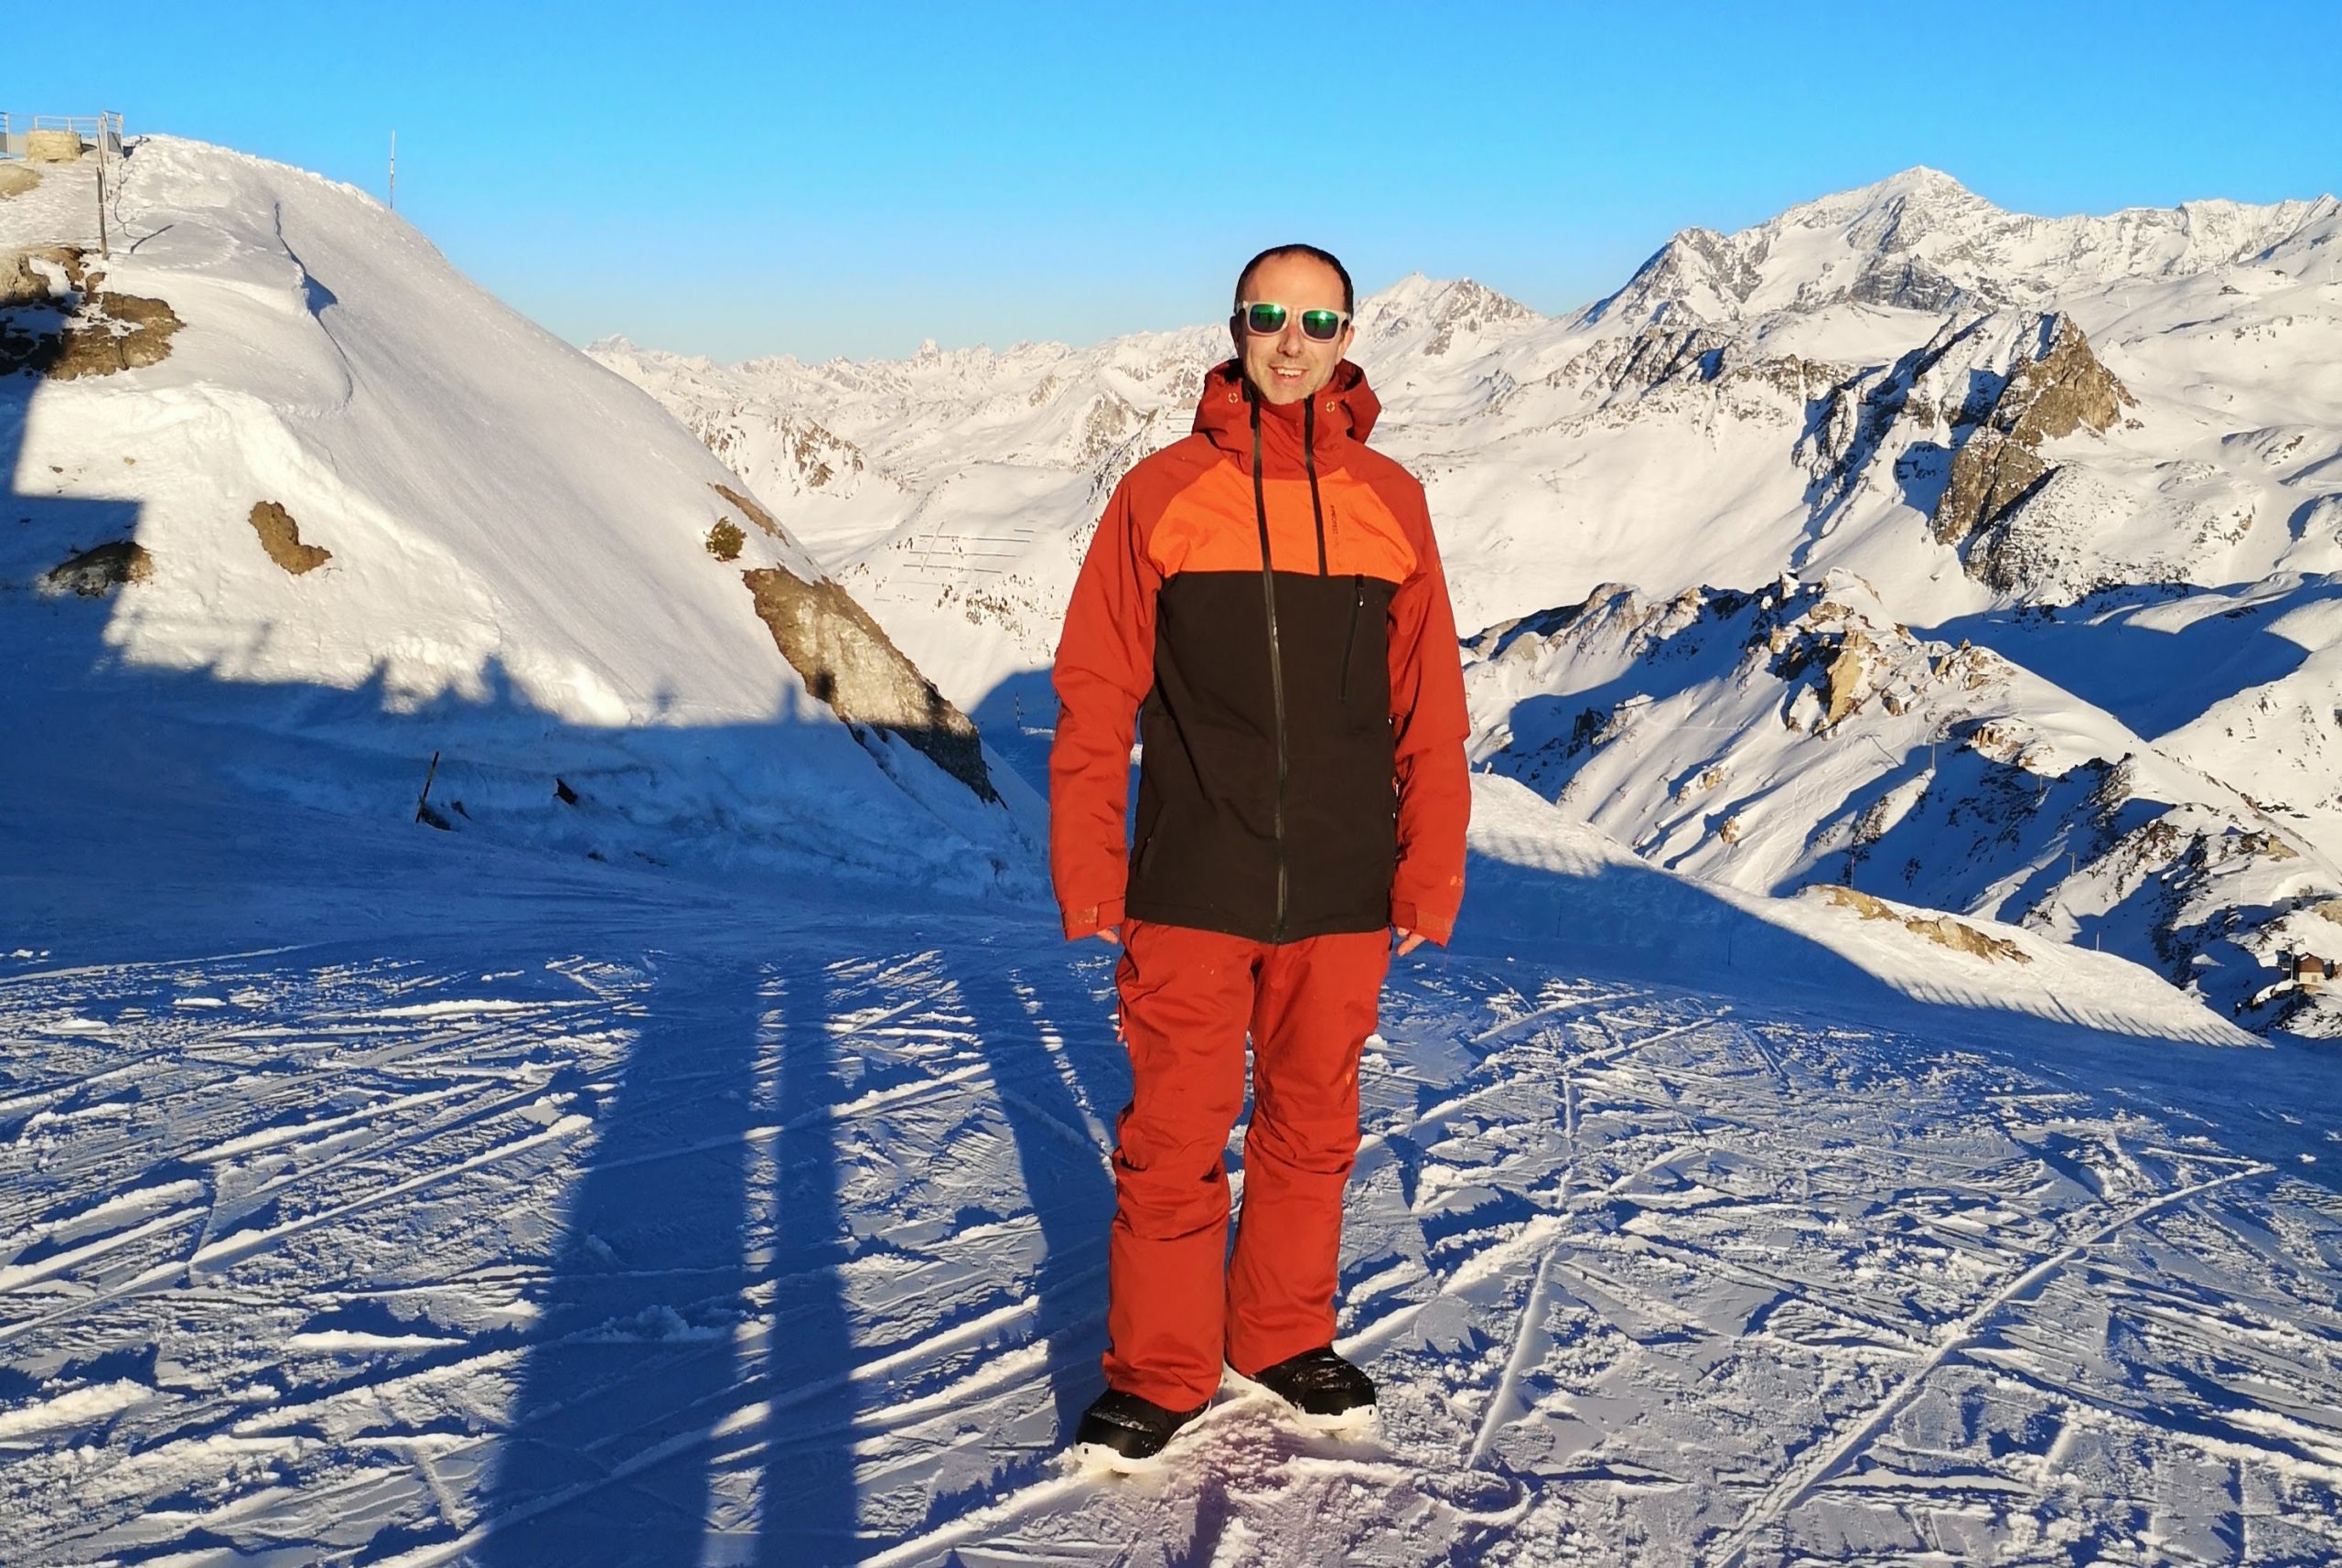
I have reviewed Protest ski products over the last few years and have been really impressed. The styles are...
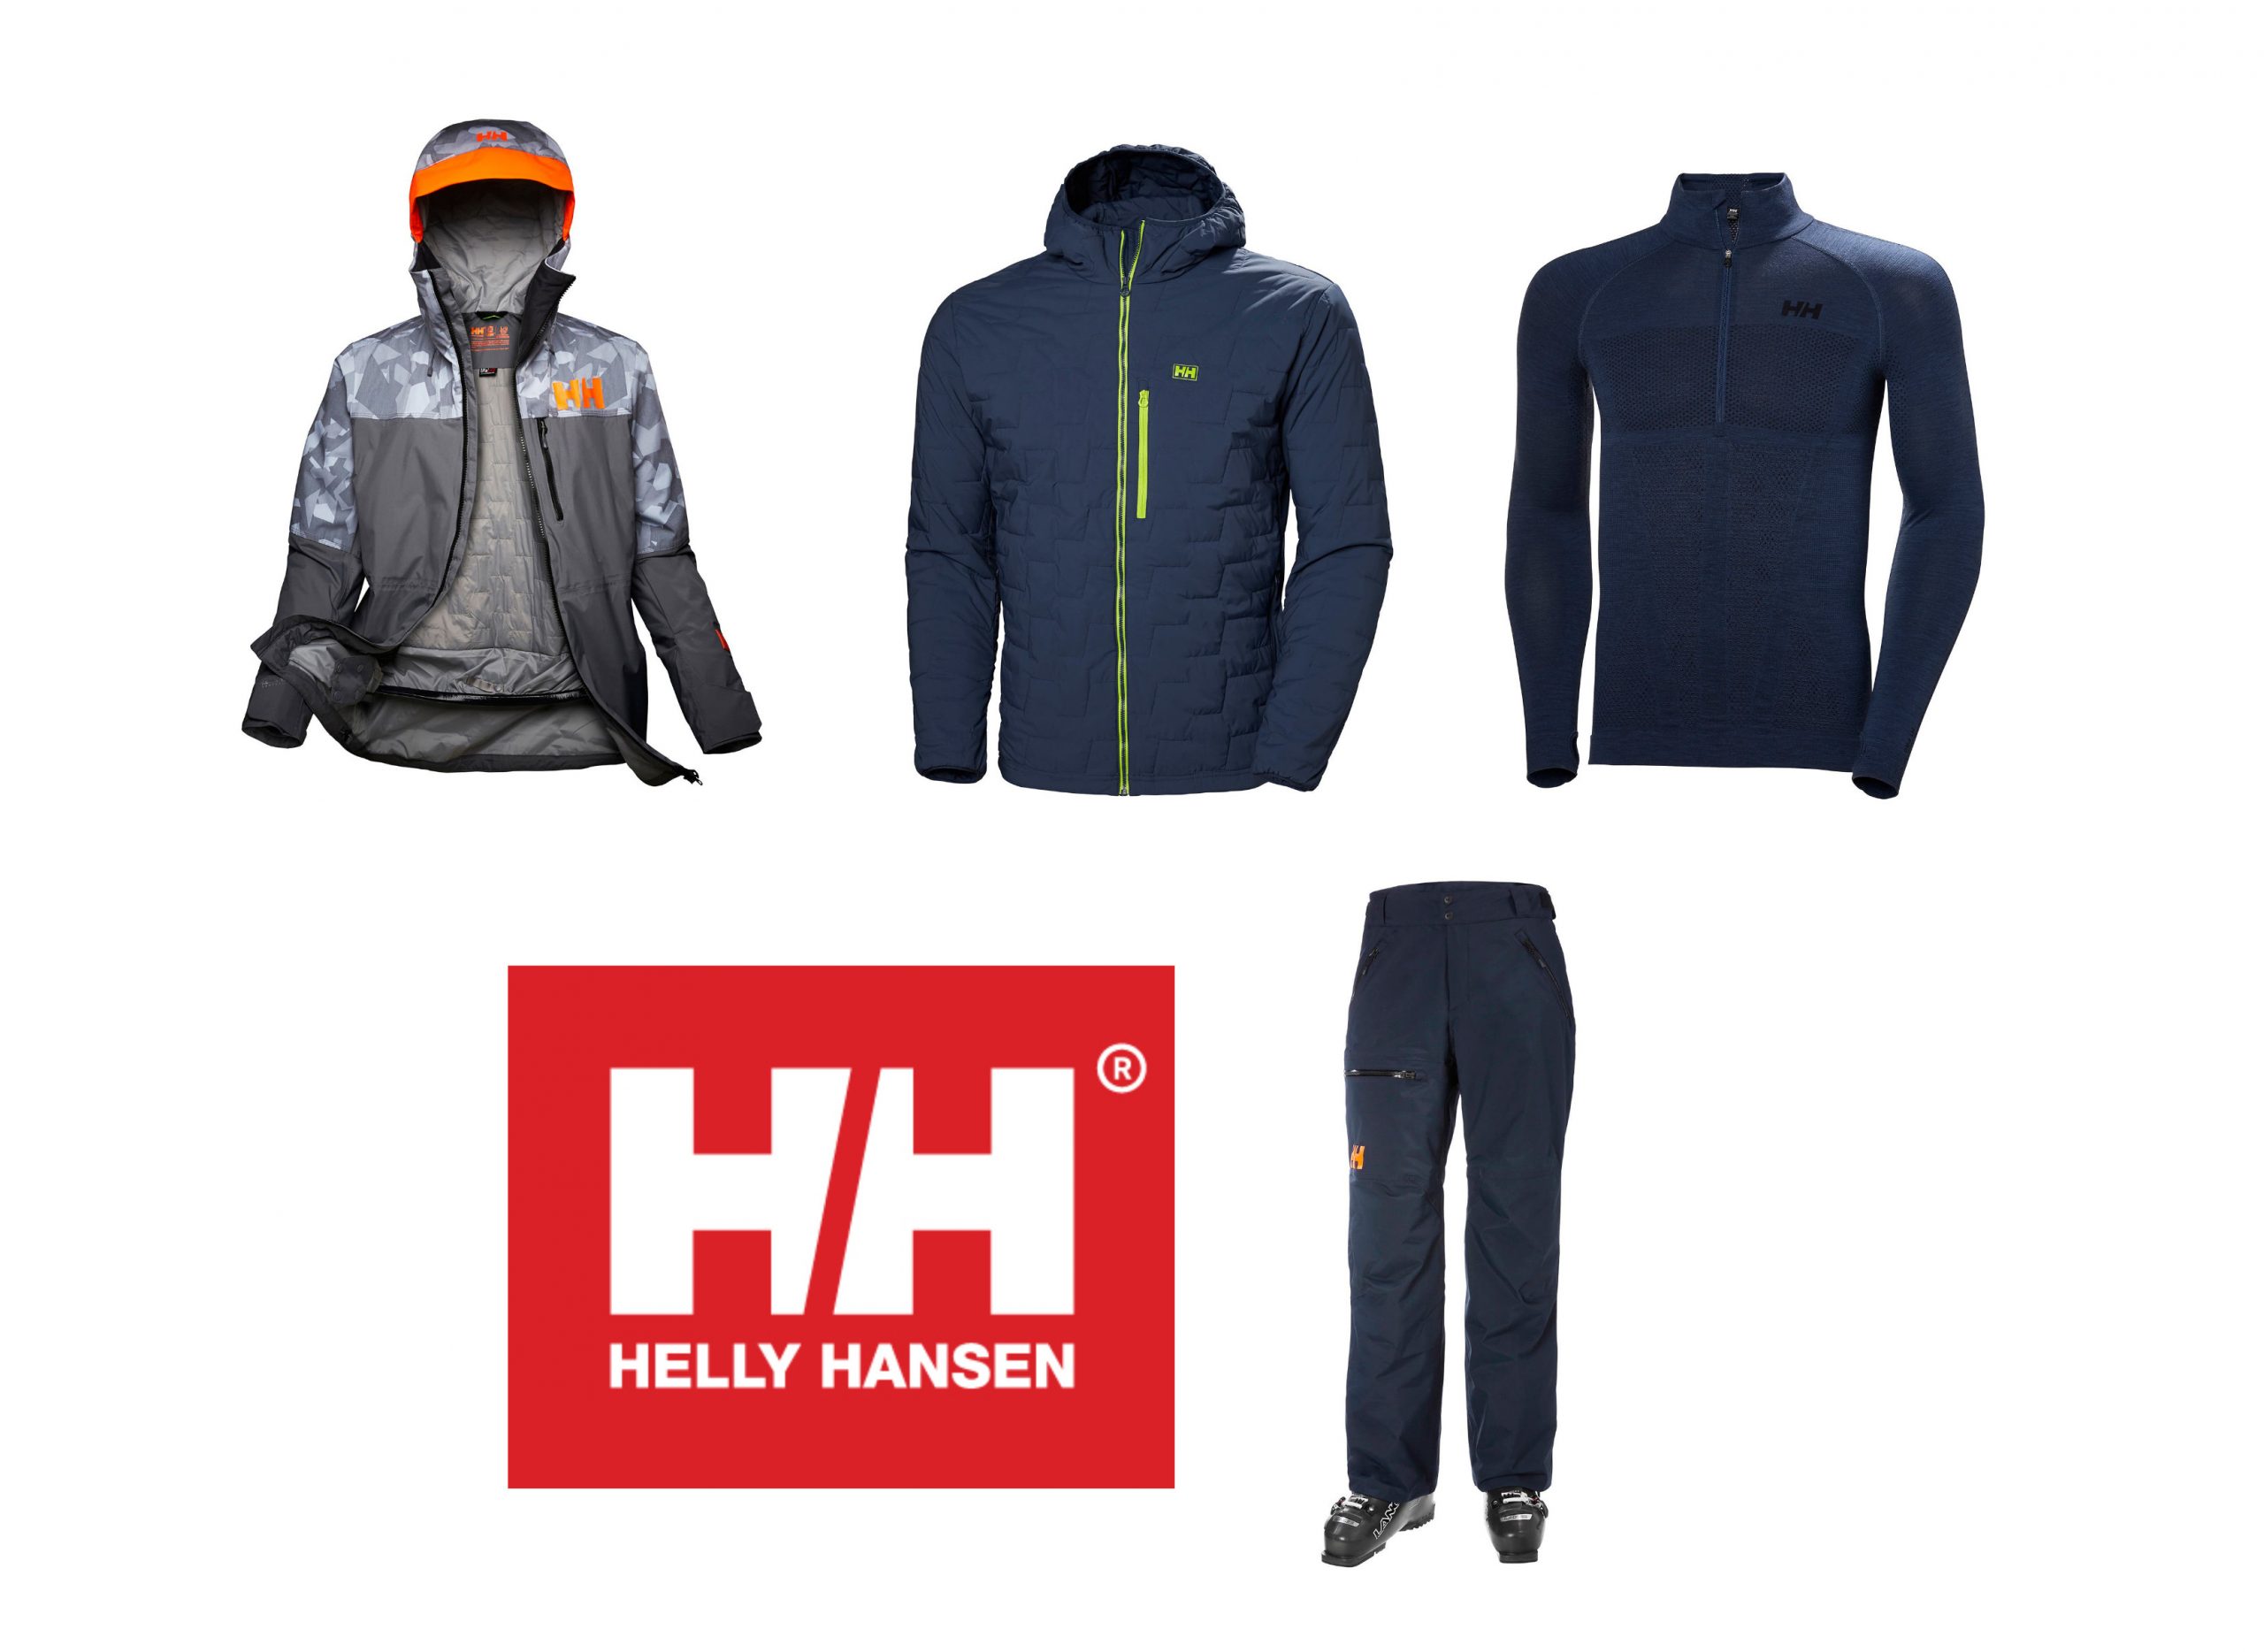
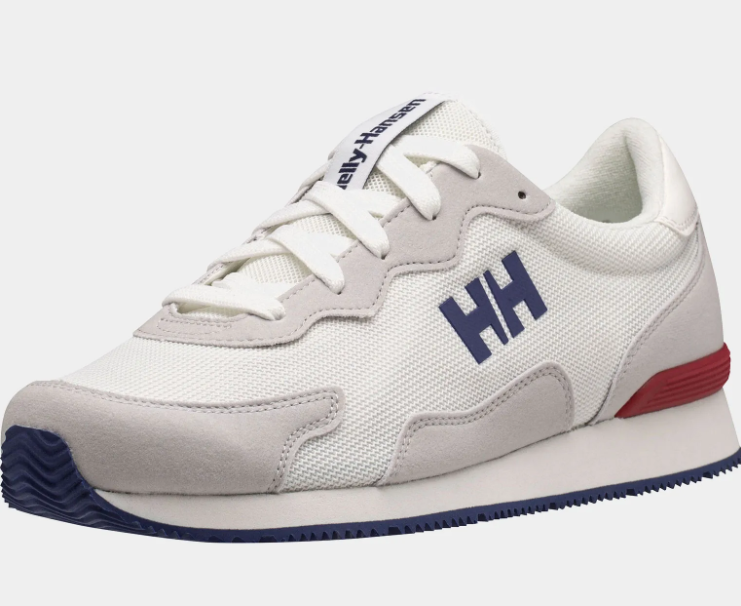
The Norwegian brand Helly Hansen have been on the cutting edge of ski gear technology for years. If you...
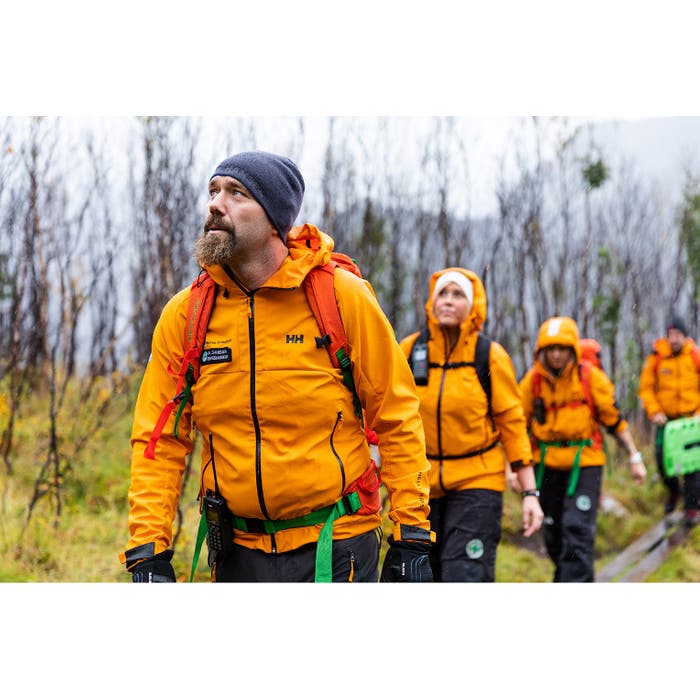
This jacket has been designed for extreme adventurers as well as those who are serious about mountaineering and hiking....
The Whiteout Ski Podcast: Episode 79 - Ski News, 2027 Gear Previews, Ski The Skicircus, Where is best to...

The FIS Freeride World Tour by Peak Performance launches its 2026 season in Baqueira Beret, the renowned resort in...
This 77th episode of The White Out ski Podcast discusses Austria’s Hidden Ski Gems, Skiing Park City Utah, ...
66 Athletes from 17 Nations to compete at the first FIS Freeride World Championships in the Andorran ski resort...